Named "The Big Day" for a reason. A wedding requires extensive planning. The ceremony, the cake, and the conga line are just the beginning of the things that need to be planned for.
Photographers generally fall into one of two camps when documenting weddings: the documentary style or the more formal, traditional approach. Both are within the capabilities of your digital SLR camera. Newspapers typically print every minute detail of a wedding, from the names of the bride and groom and their wedding party in the programme to the fact that Grandma left a wet handkerchief on the seat. Traditional wedding images typically centre on the bride, groom, and wedding party.
Do you require the services of a Wedding Photographer? The search is unnecessary at this point. Vines of the Yarra Valley has compiled a detailed directory of local wedding photographers to help you in your search.
Table of Contents
Wedding Photos Are Only Part of the Equation.
Grace Rivera, who focuses in editorial and portrait photography, has said, "I appreciate the hell out of wedding photographers." She isn't a regular wedding photographer, but her recent experience at a destination wedding has given her new perspective on the industry. "It's a tough nut to crack. You'll have just one day to create a substantial body of work that draws inspiration from various photographic genres and techniques, including fashion, documentary, event, and portraiture."
Photographers of weddings, no matter how experienced they are, may find it difficult to keep track of everything happening throughout the day (from lengthy shot lists and several locations to herding a huge wedding party and a finite amount of time to obtain your images). A well-thought-out backup plan is invaluable in the event that your original strategy fails.
What Is Wedding Photography?
Let's go into more detail about the tasks you'll be responsible for if you accept the wedding photography employment. The objective is, of course, to capture the day's finest photos. Activities with the bride range from assisting her with final preparations for the ceremony to shooting photographs during the event to joining in the post-ceremony revelry.
The only portion of the wedding that you can exert any real influence over is the wedding shoot; everything else is more or less reportage. Your mission is to document the scene before your camera without interfering with the events unfolding. Worse than everything else that may happen at a wedding is a photographer trying to get everyone to strike a posture. Be as unnoticeable as possible and let individuals be themselves at all times. Did you really not want them to feel like they were being observed? In most cases, this is the most effective method for obtaining desirable results in photography.
However, the photographic evidence is not the main focus. When you photograph weddings, you get to know the bride and groom quite well and may even end up advising them. This is because, really speaking, you are the one with the most wedding planning experience.
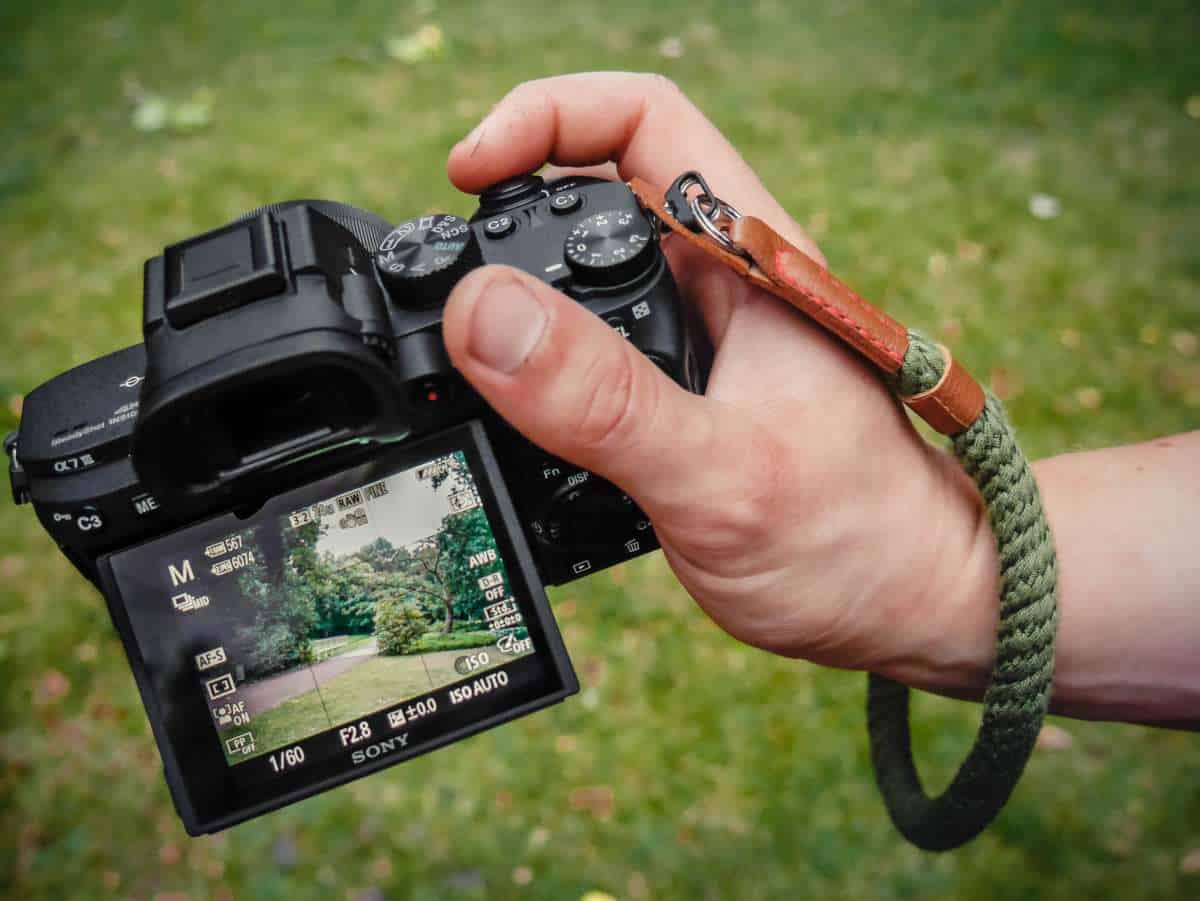
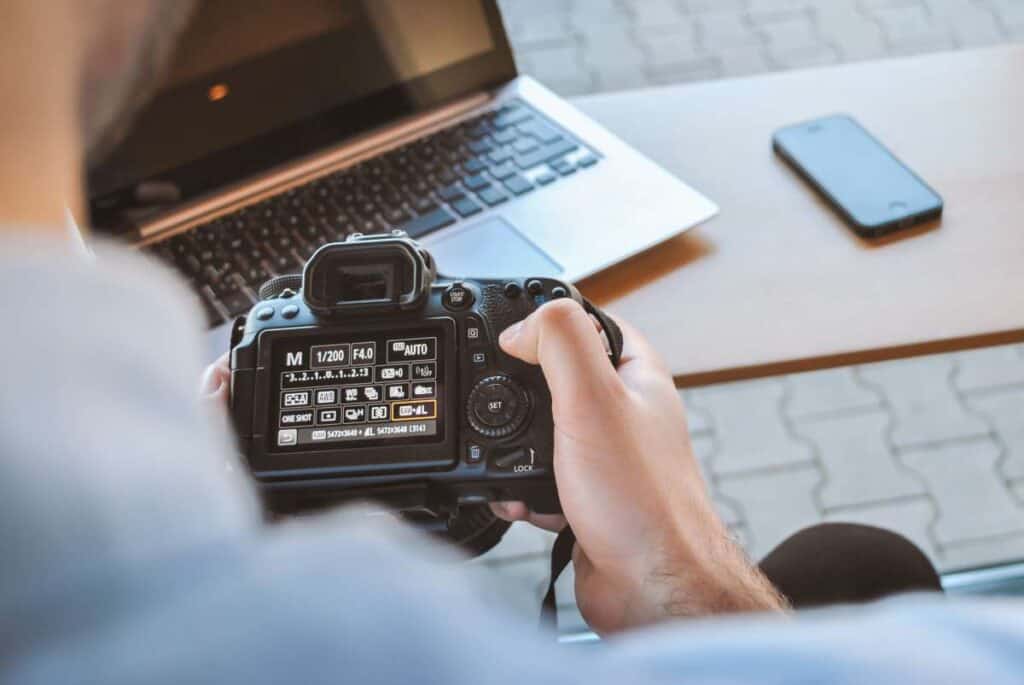
A wedding photographer will employ a number of techniques and styles for the day's photos. Most photographs feature people as their subject, necessitating the use of Aperture Priority setting to manage the depth of field.
How to Prepare for Wedding Photography.
Schedule and Shot List
You can't afford to waste a single minute of the one day you have available. Avoiding disgruntled customers is as easy as setting up a prenuptial meeting with the happy couple to talk through the timeline and create a shortlist.
Khara Plicanic, a wedding photographer and author, says she provides her clients with a timetable planning worksheet. It also gives her a chance to resolve any unrealistic scheduling in her day-to-day plans by committing them to paper.
To make sure you have enough time to get the images the bride and groom care about, you should make sure they know they won't go straight from the wedding ceremony to the reception if they have to greet 300 people in the receiving line.
Key points to discuss with the couple as they create their wedding shot list include:
Is it okay if I take pictures of them both getting ready, or do they just want to take pictures of themselves? Assuming that is the case, when would it start?
If the first glance is happening before the ceremony, it must happen first. Ensure you set aside sufficient time for this deeply moving occasion.
Find out the essentials of the ceremony so that you can be prepared to capture the most important moments throughout the 30-to-60 minute window of the day.
When exactly is the reception? Do you plan on having traditional wedding dances like the first dance, father-daughter dance, and cutting of the cake? Don't miss the bouquet toss because you had to change batteries in your camera.
When do you plan to eat? Time must be carved out of the agenda for necessities like eating, drinking, and bathroom breaks.
Taking Pictures at Weddings
Discuss with the couple in advance of the ceremony which photographs they most value having taken, such as those with their college mates, their grandparents, and other family members. If you want comprehensive coverage, you'll need a second camera to document the preparations of the other future spouse as they get ready.
The bride's attire ought to be captured in all its intricate detail in any wedding photo. As long as the newlyweds come out looking great, they won't notice if the officiant is out of focus or if the bridesmaid is hiding in the shadows.
Keep your eyes peeled for anything interesting, but prioritise snapping the following images:
- The parents of the bride and groom were invited to the ceremony. To isolate the display's emotions while obscuring the experience, shoot with a medium telephoto focal length (up to 100mm) and a large aperture (small f/stop number).
- Whether with their parents, on their own, or with each other, the engaged couple is making their way down the aisle. Keep an eye out for pictures of people's reactions, such guests and relatives.
- In other words, the ritual. Photos of the wedding vows, ring exchange, and first kiss are classic keepsakes. Moreover, remember to record any rituals, such as a candle-lighting ceremony, that are performed.
- Pictures show the bridal party, the newlyweds, and their relatives in formal attire. The family's holiday card has these photos. Gather the complete bridal party, including the couple alone, with their chief attendants, and other noteworthy members of the bridal party (the flower girl, the groom's great-grandfather, etc.).
- Ceremony of Greeting. Be sure to capture the first dance, the parents' dance, the cutting of the cake, the removal and throwing of the garter and bouquet, and the guests' reactions to these events. A high ISO and flash are necessities for photographing most receptions, as they are typically held in dark, cavernous spaces. A flash diffuser could be worth a shot.
What Equipment Do You Need to Photograph a Wedding?
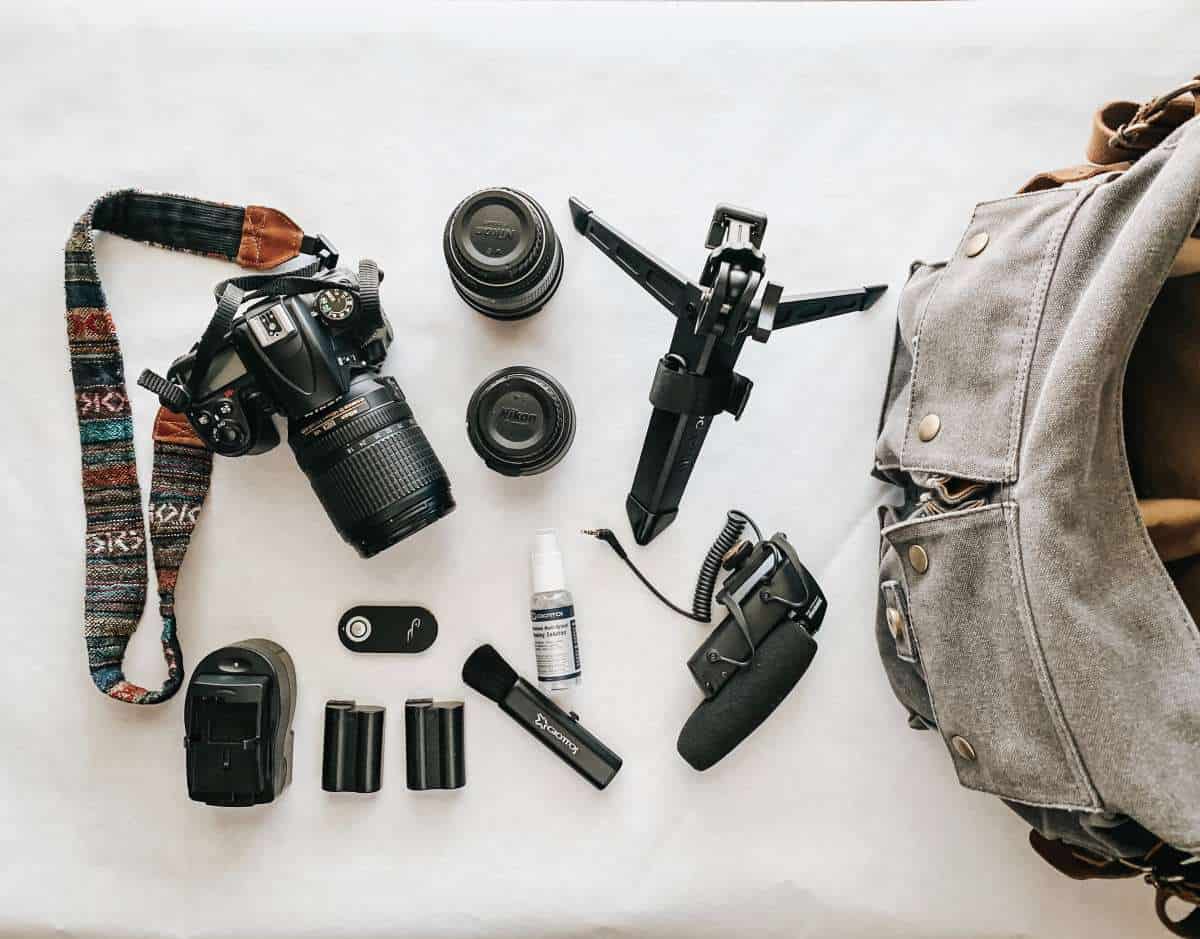
There are no hard and fast regulations about which pieces of camera equipment are required and which are not to be brought to a wedding, but there are required and non-required pieces of equipment.
Once the sun comes up, wherever you are, you can't just run out and get another lens. So, please, be ready. Not only will you need a flash, but also lenses that can take different types of pictures. Create a wedding photography equipment checklist based on the shots you hope to capture. For instance, Plicanic employs a 50mm lens for live photojournalistic images, a 16-35mm lens for the wide shots required by massive wedding parties, and a 70-200mm lens for distant, intimate shots.
You should also get ready to face the weather. Wear comfortable clothes that can withstand the heat if you find yourself in sunny southern California. However, if you plan on visiting Chicago in the winter, you should pack accordingly. Make sure you're dressed professionally and comfortably so you can focus on the shoot without interruptions. It's always helpful to have another pair of eyes look at your work.
"I had two cameras on myself, two cameras on my second shooter, and a range of lenses," Rivera explains. During the ceremony, when time is of the essence, you'll want to be prepared with both a long lens for capturing distant scenes and a wider lens for quickly switching between the two.
Cameras
You'll need a camera with a high ISO setting, of course. The lighting in most churches is not very bright. In order to acquire usable shots after dark, you'll need to increase your ISO.
If you don't want to resort to using a flashlight, you might as well use IOS 6400. Therefore, in the context of cameras, ISO speed is more important than resolution. High-resolution cameras are also extremely sensitive to camera shake at slower shutter rates, such as 1/30 second. Therefore, high-resolution cameras (40 megapixels or more) are not the prefered method of attack. By the way, your hard drive will be grateful as well.
Lenses
Different people have quite different points of view when it comes to lenses. Whenever the topic of wedding photography comes up, the only lenses mentioned are primes with large apertures. Yes, prime lenses do offer superior image performance over zoom lenses in terms of sharpness and bokeh, and they are also considerably quicker. But they aren't as adaptable.
Throughout the years, wedding photography has necessitated a wide assortment of zoom and prime lenses. A balanced combination is optimal. Because you won't be moving around the church very much, a 24-70mm f/2.8 lens will serve you well. It's useful in situations where you need to act quickly, like the first kiss. A zoom lens makes life much simpler. Photographing people, objects up close, or in a still life setting requires a different lens.
As a photographer, I'm not a huge supporter of using a flash at a wedding. Why? As a result, they completely ruin the atmosphere. Guests will be disturbed, and any "natural" lighting, like as from chandeliers or disco balls, will be extinguished, even if reflected off of a ceiling or wall.
However, there are situations when their use is inevitable. One such occasion is the couple's first dance together. Lighters or candles create a warm, intimate atmosphere. In an effort to preserve this stunning landscape, I've been using two cordless flashlights to help me see the finer points of my work in the dark. In most cases, natural light is preferable to the flash, and the latter should be used only as a backup.
If you know the day's schedule, you'll have a better idea of the available light. Many weddings take place in the middle of the day, when the light is much harsher than it would be during the golden hour (the hour after sunrise or before sunset) when it is the most flattering. Anna Goellner, a wedding photographer, notes that when the sun is directly overhead, it casts heavy shadows under people's eyes. "To avoid harsh shadows, I seek for shady areas during this time of day. This could be under a tree or inside a structure. If you can't find nowhere to sit out of the sun, try to face your customers away from it."
Arrive early to the venue to scout the lighting before people arrive. It may alleviate anxiety later on.
Flash photography may be required if the party continues late into the night. Photographer Kilen Murphy recommends using a method called "dragging the shutter" to capture wedding images in low light without blurring the background.
To capture attendees dancing at the reception without losing details of the venue surrounding them, decrease the shutter speed and increase the ISO (which governs the camera's sensitivity to light) to use a flash to spotlight the foreground subject while still taking in the background light. Goellner claims that a higher ISO and slower shutter speed, with some trial and error, can provide excellent low-light reception photos even without the use of a flash.
When taking photos of the bride and groom for their wedding album, a flashlight can be useful for highlighting features like the eyes and cheekbones. For the reportage, I use two Canon Speedlights with small bouncers connected, and for the portraits, I use a large battery-powered studio flashlight with a softbox.
If you have an assistant with you, a reflector might be a useful lighting tool for the wedding shoot. This method of simulating ambient light is preferable than the use of a flash in many situations.
A camera case, some extra memory cards, and a few fresh batteries are all you really need. Depending on your goals, you may or may not need accessories like reflectors or light metres. If you're trying to get clear images at night or of a large group of people without moving any of them around, a tripod is an excellent investment.
Working With Different Lighting Setups
Working With a Reflector
I prefer working in natural light than artificial light, as I've indicated before. As a result, a reflector or sun bounce can be a wonderful tool for producing well-lit photographs without the need of a flash.
Using backlighting when shooting adds dimension and visual interest to a photograph. Although mastering your light setups can be challenging at times, the results will be well worth the effort.
You can soften the look of the reflected light by adjusting the distance between your motive and the reflector. The glass was placed approximately 5 metres distant from the pair to provide ambient lighting. Be aware that if the intensity of the reflected light is too high, you can adjust the sun bounce further away.
When shooting close-ups, reflectors can also be utilised to make the eyes pop. Photographing someone with a glass placed beneath their chin might produce flattering reflections in their lower eyelids. This makes the eyes look bright and attractive and really highlights the natural colour of the eyes. Light modifiers like a softbox and a flashlight, or a somewhat overcast day, are ideal for this.
Working With a Flash
Natural light is a luxury that is not always available during a wedding photography shoot. If the lighting is too dim (from a cloudy day) or too bright (from a sunny day), the contrasts may be too strong, necessitating the employment of a flash. We at Vines of the Yarra Valley have compiled a list of Melbourne's top photographers to help you with this crucial choice.
In contrast, it's crucial to be experimental and creative with lighting. Before you photograph your first wedding, you should put in a lot of practise time to develop a feel for the light, study the capabilities of your gear, and become comfortable with the outcomes you may achieve from utilising various tactics. Learn from resources like videos and articles posted online, and then make an effort to put that knowledge into practise. The information presented in this book only scratches the surface of the subject of lighting. Maintain a curious mindset as you experiment with new forms of lighting. There's no better moment than now, and you can make significant progress in a short amount of time.
Conclusion
Wedding photographers in the Yarra Valley area are listed in great detail on the Vines of the Yarra Valley website. The point is, of course, to get the best shots possible on a given day. Helping the bride get ready for the wedding and taking pictures during the ceremony are just two examples of what you can do with the bride. The job of a photographer is to take pictures of whatever is happening in front of the camera without getting in the way. Try to blend into the background as much as possible and always give people space to be themselves.
Since humans are typically the subjects of shots, the Aperture Priority mode is the most common one to utilise. Wedding photographer and published author Khara Plicanic says she gives her clients a worksheet to help them organise their schedules. By writing out her daily plans, she can see where she might be wasting time and adjust accordingly. She offers suggestions for topics the couple should talk about while making the wedding shot list. When it comes to wedding photography, there are no hard and fast rules about what gear is obligatory.
While a high ISO and flash are requirements for most receptions, there is more gear required to capture the wedding in their entirety. For this, you'll need a camera with a high ISO setting and interchangeable lenses. Plicanic uses a 50mm lens for real-time photojournalism and a 16-35mm lens for the broad views required by large wedding receptions. Most churches have dim lighting, thus you may need to up your ISO. Kilen Murphy, a professional wedding photographer, suggests "dragging the shutter" to avoid blurring the background when shooting in dim light.
There are many of ceremonies that take place in the middle of the day, when the light is considerably harsher than it would be during the golden hour. If you want bright photos without using a flash, a reflector or sun bounce might be a great tool to have. Goellner says that with with practise, a higher ISO and slower shutter speed can produce great images of a low-light reception. Close-ups are best shot using a softbox, a flashlight, or on an overcast day. Putting a glass under a subject's chin while taking their picture can create attractive reflections in their lower eyelids. Keep an open mind as you try out various lighting options.
Content Summary
- To aid in your search, Vines of the Yarra Valley has created a comprehensive list of local wedding photographers.
- The wedding shoot is the only part of the wedding over which you have some control; the rest is pure reportage.
- When documenting a wedding, a photographer may use a wide range of approaches.
- Author and wedding photographer Khara Plicanic says she gives her customers a timeline spreadsheet to help them organise their big day.
- Make sure the bride and groom are aware that they will not be able to go directly from the ceremony to the reception if they plan to greet 300 guests in the receiving line; this will allow you more time to capture the photographs the couple values most.
- Make sure you give yourself enough of time to experience this moving event.
- Learn the basics of the ceremony so you can be ready to record the best parts of the event throughout the 30-minute to 60-minute window.
- Guests and family members should keep an eye out for photos documenting their reactions.
- Photographs depict the wedding party, the newlyweds, and various members of the couple's extended family dressed formally for the occasion.
- Make sure you have everything you need to take the pictures you want during the wedding by making a list of everything you'll need.
- When it comes to wedding photography, I'm not a big fan of using a flash.
- The flash should be utilised as a last resort and only when all other lighting options have been exhausted.
- For the wedding photography, a reflector could be helpful if you have an assistant.
- A reflector or sun bounce, then, can be an excellent instrument for taking bright images without resorting to the use of a flash.
- Processing Images Using a Flash
- A wedding photographer is often deprived of the luxury of shooting in natural light.
- To aid you in making such an important decision, we at Vines of the Yarra Valley have created a list of Melbourne's most highly regarded photographers.
- As a counterpoint, though, it is essential to try new things when it comes to lighting.
FAQs About Wedding Photography
Wedding photography is important because it will capture your day, it will capture your memories, it will tell a story, and not just any story, it will tell a beautiful story of your special day, a day you will never forget.
The three variables that matter the most in photography are simple: light, subject, and composition.
There are many elements in photography that come together to make an image be considered “good”. Elements like lighting, the rule of thirds, lines, shapes, texture, patterns, and color all work well together to add interest and a great deal of composition in photographs.
There's editing style, meaning which colors the photos turn out to be, and capturing style, which is more about what goes into taking the photo. A photographer can draw inspiration from many of these different styles and mix them to create their own unique style.
One of the most popular and authentic wedding photography styles is editorial. This approach, almost like photojournalistic wedding photography, captures the couple exactly as they are, and the day as it happened. This can mean candid, sweet looks between the bride and groom.