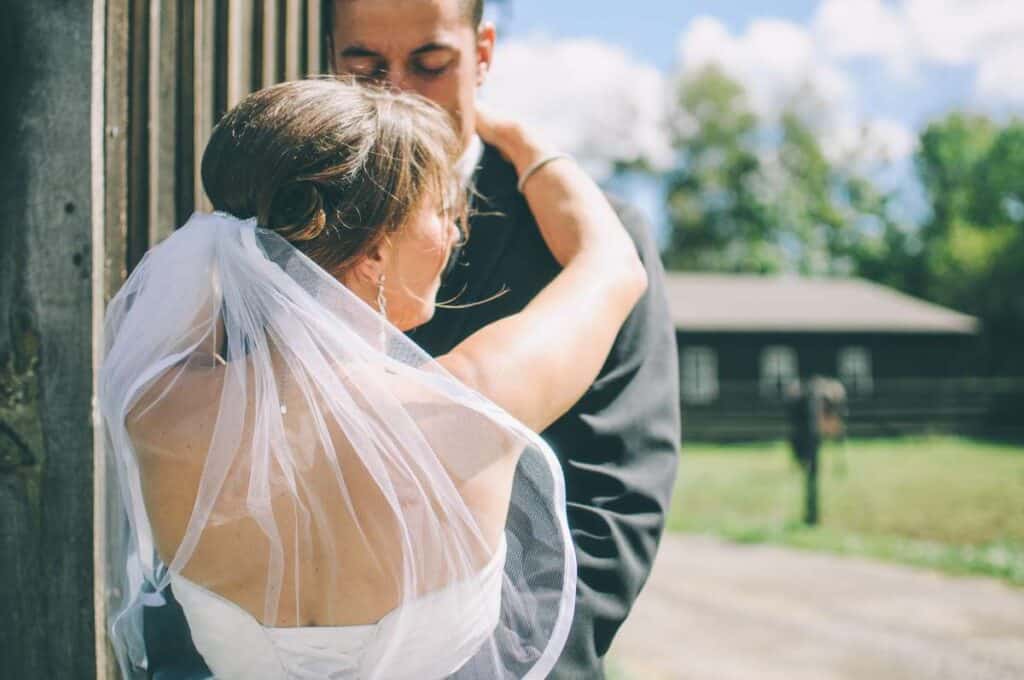
An engagement session or pre-wedding photo shoot is more than just nice pictures for the guest book or a presentation at the reception. It's an opportunity to create meaningful mementoes of your time together by recording your feelings for one another on film.
If you hire a photographer for your wedding, doing so in advance is a wonderful opportunity to get to know each other. Making sure that your pre-wedding photos turn out exactly how you envisioned them to be is as simple as checking off a few boxes on a checklist. View our comprehensive selection of Melbourne-based wedding photographers to choose the perfect one for your big day.
Here is a rundown of the most important details to consider as you prepare for the shoot and keep an eye out for on the big day.
Table of Contents
Preparations Before the Shoot
Book a Photographer
If you want a successful engagement session, this is the person to hire. Important criteria to consider while selecting a suitable photographer:
- Take pictures
- Spending plan
- The feedback
Location & Timing
When you've settled on a photographer, the setting is just as important, whether it's in your hometown or halfway across the world. Communicate your ideas for the shoot with your photographer; they should be able to suggest a few good spots and when to shoot to make the most of the available natural light.
Back up Plans
Do you seem to have something in mind? It's now time to think of a backup strategy. Always plan for contingencies, such as wet weather or any unforeseen setbacks that can occur on the day of filming.
Coordinate Outfits & Props
Choosing what you and your future spouse will wear for the pre-wedding shoot is the most important detail. Pick a motif and coordinate your attire with it. If it's a formal shoot, for instance, you'll need to rent wedding dresses, formal gowns, and men's suits in advance.
If it's going to be a more relaxed session, get your clothes ready in advance. If you want a second opinion on your outfit choices, your photographer can tell you if they will conflict with the backdrop you've chosen or your partner's choice of clothing.
Get some props in advance if you want a more staged photoshoot. Get your props months in advance if you're doing it yourself (especially if you're ordering from TaoBao or the like) or see if any other brides are selling theirs. Depending on the complexity of the shoot, hiring a professional wedding photoshoot stylist may require as much as a few months' notice.
Makeup Artist (MUA)
Famous makeup artists typically have bookings six months to a year in advance. Make sure to schedule them in advance if possible. If you want to make sure you're happy with the MUA's work for your shoot, it's a good idea to schedule a trial run before the big day. Before your trial sessions, do some research on cosmetics and hairstyles to discuss with your MUA.
Book an Appointment With Your Hair Salon
Your MUA may like dye your hair a different colour to bring attention to the braids or other features of the hairstyle you've chosen for the shoot. Therefore, schedule a visit to your salon in advance of the shoot.
Book Your Manicure/pedicure
For the very least, your fingernails should be tidy and polished before the shot. There will be many close-up photos of the bride and groom in the engagement album; you do not want your nails to be the only flaw.
Ask a Friend or Relative for Help
Assistance on the day itself is greatly valued. If you can't bring your makeup artist to the shoot, it's probably for the best to bring along a trusted friend or family member who can help you with things like setting up and taking down props and changing into different outfits.
It's possible the photographer can offer some assistance, but they'll likely be hampered by the weight of their equipment. Plus, they're giving it their all to capture your most precious moments.
Beauty Prep
Schedule Your Facials.
If you want to avoid having red patches or other scars during your pre-wedding shoot, schedule your facial sessions two weeks before your shoot date. If you experience an unanticipated allergic reaction that doesn't go away after a few days, you shouldn't try a new product or technique.
Avoid Bloat.
Avoid eating too much salt the day before your shoot to avoid feeling bloated and looking puffy. Instead, keep yourself well hydrated, which will both aid in the elimination of toxins and contribute to the appearance of radiant health in your skin.
Get a Good Night's Sleep.
Not for nothing is it referred to as "beautiful sleep." Be sure to obtain at least eight hours of sleep in the days preceding up to the shoot to avoid looking fatigued or with black circles under your eyes.
Don't Condition Your Hair.
Soft and silky hair is a blessing in real life, but it doesn't photograph well since it's so unruly and won't stay in place. Hair conditioner and hair serums should be avoided the night before and morning of the shoot. The volume, ease of styling, and durability of dry, rough hair are all benefits of this hair type.
Say No to Tan Lines.
Stay out of the sun as much as possible in the months leading up to the session and skip the beach vacation so you don't end up with permanent tan lines in your engagement photos.
What to Wear
Select Outfits to Suit the Location.
Think about the backdrops you'd like to use for your photos, and plan your costumes accordingly. If you want to make a statement against the backdrop, ask the photographer for recommendations on what colours to wear. While a ball gown or lengthy train may stand out more in some settings, a pair of matched sneakers may be just the thing for a laid-back picnic with friends. Don't forget accessories such as your veil! Let Vines of the Yarra Valley Wedding Venue help you create the most magical day of your life.
Wear the Right Underwear.
Stick-on are the most versatile because they may be used under a wide variety of necklines and clothing styles. You should also go braless and use seamless underwear. Because you can't predict which necklines and gowns you'll choose from at your foreign bridal studio, it's important to bring these items with you on your pre-wedding shoot abroad.
Discuss Your Hair and Makeup Beforehand.
Your hair and makeup artist can help you get the finest appearance for your photo shoot if you show her your dress choices and makeup inspiration photos.
Please let her know if you will be in a particularly windy area so that she can take precautions to guarantee that your hairstyle remains in place.
Don't Forget Your Hands.
To ensure that your engagement ring sparkles beautifully in close-up photographs, give yourself a manicure and don't forget to clean it!
What to Bring
Bring the Right Shoes.
If you're shooting outdoors on tough terrain, you don't have to fumble around all day in your beautiful but painful bridal heels. Wear slippers, sneakers, or platform shoes during the shoot, then switch into your heels for any photos that will show off your feet.
Pack Battery-Operated Fans.
Are you going to be shooting in the open air? Portable fans will be much appreciated as you both try to keep your cool in your bulky wedding attire and three-piece suits as the sun beats down on you.
Hydrate.
If you plan on spending the day filming in a location with no access to beverages, such as a park or forest, be sure to pack enough of water and other cold drinks to keep you hydrated.
Pack an Easy Change of Clothes.
Choose an outfit that allows you to swiftly and discreetly change into it and out of it in a car, such as a button-on top or slip-on shorts, for your lunch break.
Bring a Cosmetic Touch-Up.
Pack some tissues to dab excess sweat and grease off your face and to reapply lipstick if your makeup artist isn't shadowing you throughout the session. Wet wipes are a must for any outside shot to clean off the inevitable mud and dirt.
Keep Your Flowers Fresh.
Put your bouquet in a jar of water when you're not using it to keep it looking great for photos.
Add Some Props.
Fairy lights, sparklers, and a picnic blanket are just a few examples of inexpensive extras that can give your photos a more personal touch.
Don't Forget the Elements.
When filming outside, it's a good idea to bring along some sunblock and insect repellent.
Looking Natural in Your Photos
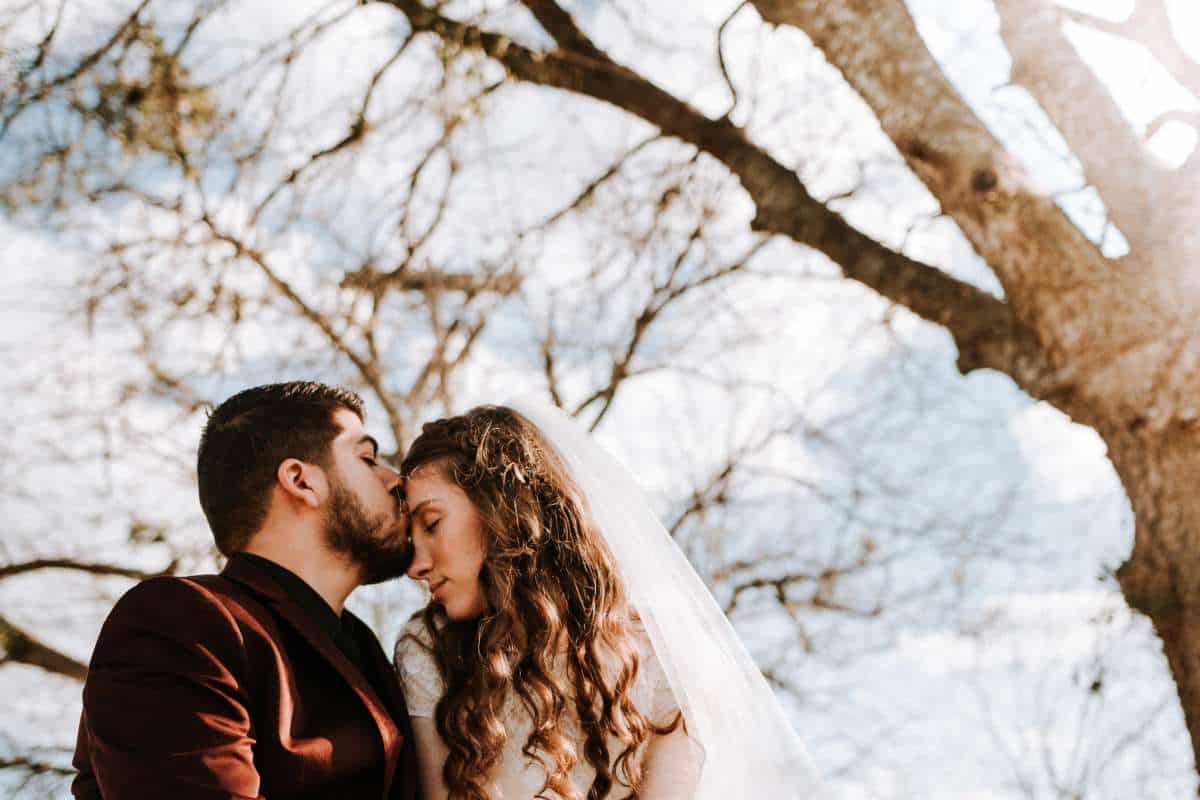
Try Some Couple Poses.
Feeling uneasy about being filmed? Find several couple postures you like on Pinterest or in our article and practise them in the mirror before your shoot to increase your comfort level.
Laugh and Have Fun.
Having a good time during the session is the best method to get candid shots. Leave the camera at home and have fun together while you explore a new place or act like you're on a date and joke about.
Get the Emotions Flowing.
Recalling fond memories from your time together will help your photographer capture genuine expressions. Tell me about your first date. Tell me three wonderful qualities that your mate possesses. In this new chapter of your lives together, what assurances would you like to provide your partner? Having a heart full of love throughout the session makes for more captivating images, so be sure to discuss these topics beforehand.
Pre-Wedding Photography Things to Consider
Timing
Your immediate pre-wedding schedule will likely be jam-packed with last-minute preparations and unanticipated issues. Therefore, it is highly recommended to schedule the pre-wedding photo session well in advance of the wedding. Four to six months is ideal, and will allow you plenty of time to take the photographs you'll need for your wedding website.
In the end, the images will turn out far better if you're not worrying about how they'll turn out. Be mindful of the time of day you decide to shoot as well. You can obtain some beautiful sunset photographs if you plan your pre-wedding photography so that it spans the "golden hour" just before sunset. There is nothing more romantic than a sunset silhouetted by a loving couple.
Location
You probably know the exact date and location of your wedding if you're planning a pre-wedding photography. To that end, it's highly recommended that you choose a setting for your pre-wedding photos that is completely different from the place of your actual wedding. Don't waste your time with duplicate photo collections!
This means that instead of having a beach wedding, you should consider having it in the country or, even better, in one of the world's great cities. Choose a location that has meaning for the two of you or go somewhere you've never been before but know would look beautiful in pictures.
Outfits
It's important to put some thought into what you'll wear for the photo shoot, and to give those clothes a try before the big day. You may find that you no longer choose to wear that particular suit or outfit. Instead, pack two or three different outfits, including one casual, one smart, and one absolutely elegant option.
Make sure to plan ahead with your companion to ensure that each of your outfits complements the other. Invest in timeless silhouettes and stay away from busy prints that might not photograph properly. Bring any particularly meaningful accessories or jewellery and explain their significance to the photographer. Incorporating a subtle reference to a meaningful subject into your photographs is always appreciated.
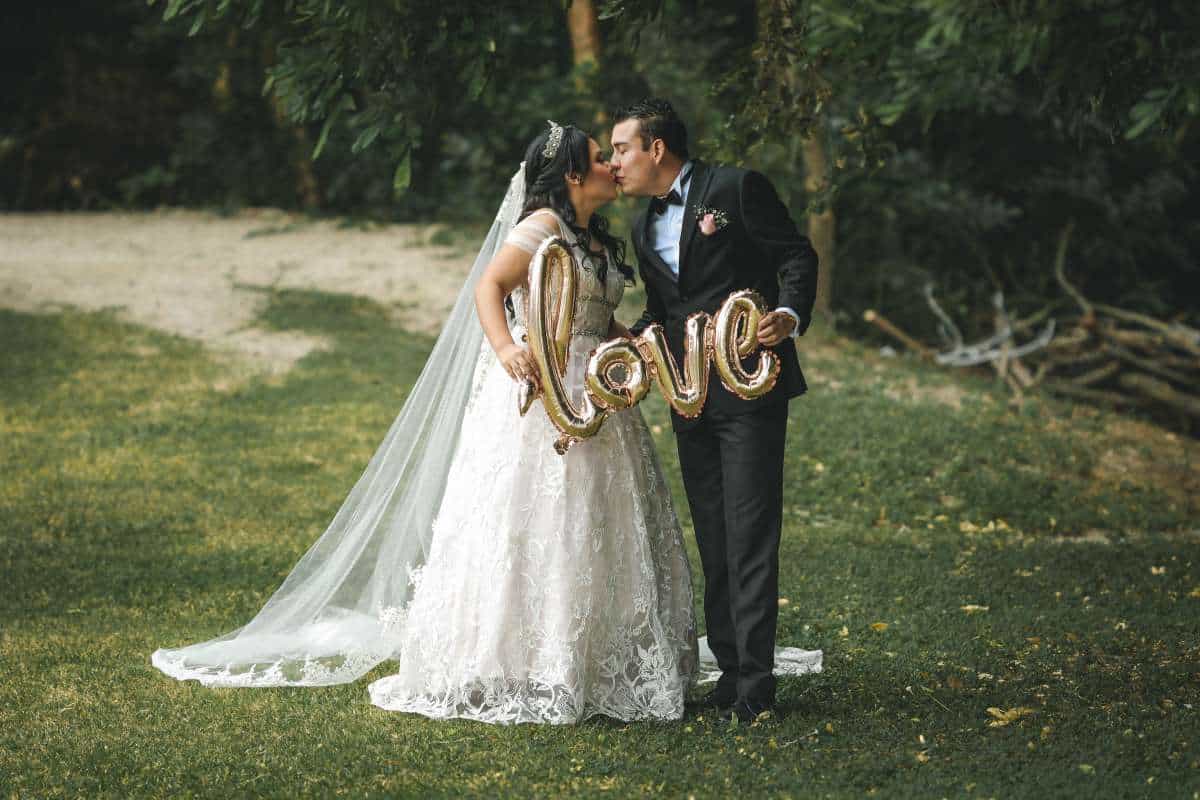
Props
In reality, you only need your future spouse and yourself for a pre-wedding photography, though many couples also prefer to bring along some props. Maybe you're in possession of a vintage automobile. If you don't have one handy, you can always hire one. If that doesn't describe you, then perhaps you should bring your bike for a Parisian-themed photo shoot.
To get started when you're feeling uninspired, consider the things you enjoy doing together. The complexity of a prop can range from a simple picnic basket to a fully functional helicopter. If you need inspiration, don't hesitate to consult your photographer.
Styling
Professional style will make a huge difference in your engagement photos just as it will on your wedding day. Spending a little more to get your hair and cosmetics just right is a no-brainer if you're already planning on spending a lot of money on the shoot. Need help planning your wedding? Check out our list of Wedding Event Planners here.
While photographers have many tools at their disposal for retouching images, nothing beats a professionally assembled canvas. Most photographers have contacts with stylists they have worked with in the past and may recommend if you need a place to begin.
Conclusion
Pre-wedding or engagement photo sessions are a great way to capture your love for one another in a way that can last a lifetime. Involving a professional photographer in the planning process is a great way to bond before the big day. Have a look at our gallery of Melbourne-based photographers to find the best one for your wedding. Find out if any other brides are selling their accessories ahead of time, or order some from TaoBao in advance. If you want to hire a professional stylist for your photo shoot, you may need to plan ahead at least a few months.
Bring a reliable friend or family member in place of your makeup artist if you can't bring them to the shoot. To avoid looking tired or with black circles under your eyes, get at least eight hours of sleep in the days leading up to the shoot. Ask the photographer for advice on what colours would work best, and pick outfits that complement the setting. Talk about your hair and makeup choices in advance. You'll want some tissues on hand in case you need to wipe some perspiration or grease off your face or reapply lipstick.
Outside filming calls for the use of sun protection and insect repellent. Getting natural expressions in photographs is easiest if everyone involved is having a good time during the shoot. In order to get the best shots, the pre-wedding photo shoot should be scheduled well in advance of the wedding. Ideally, you'll have between four and six months to plan your wedding website and take all the photos you'll need. Try to save your money for classic cuts instead of busy patterns that may not photograph well. A photographer's work is more likely to be admired when they include a subtle reference to a significant subject.
Content Summary
- An engagement session or pre-wedding photo shoot is more than just nice pictures for the guest book or a presentation at the reception.
- If you hire a photographer for your wedding, doing so in advance is a wonderful opportunity to get to know each other.
- View our comprehensive selection of Melbourne-based wedding photographers to choose the perfect one for your big day.
- Choosing what you and your future spouse will wear for the pre-wedding shoot is the most important detail.
- Pick a motif and coordinate your attire with it.
- Get some props in advance if you want a more staged photoshoot.
- Depending on the complexity of the shoot, hiring a professional wedding photoshoot stylist may require as much as a few months' notice.
- If you want to make sure you're happy with the MUA's work for your shoot, it's a good idea to schedule a trial run before the big day.
- Therefore, schedule a visit to your salon in advance of the shoot.
- Be sure to obtain at least eight hours of sleep in the days preceding up to the shoot to avoid looking fatigued or with black circles under your eyes.
- Stay out of the sun as much as possible in the months leading up to the session and skip the beach vacation so you don't end up with permanent tan lines in your engagement photos.
- Think about the backdrops you'd like to use for your photos, and plan your costumes accordingly.
- Your hair and makeup artist can help you get the finest appearance for your photo shoot if you show her your dress choices and makeup inspiration photos.
- Having a good time during the session is the best method to get candid shots.
- Four to six months is ideal, and will allow you plenty of time to take the photographs you'll need for your wedding website.
- Be mindful of the time of day you decide to shoot as well.
- You probably know the exact date and location of your wedding if you're planning a pre-wedding photography.
- Choose a setting for your pre-wedding photos that is completely different from the place of your actual wedding.
- Make sure to plan ahead with your companion to ensure that each of your outfits complements the other.
- Bring any particularly meaningful accessories or jewellery and explain their significance to the photographer.
- You only need your future spouse and yourself for a pre-wedding photography, though many couples also prefer to bring along some props.
- If you need inspiration, don't hesitate to consult your photographer.
- Professional style will make a huge difference in your engagement photos just as it will on your wedding day.
- Spending a little more to get your hair and cosmetics just right is a no-brainer if you're already planning on spending a lot of money on the shoot.
FAQs About Pre Wedding Shoot
A pre wedding shoot is not an engagement session. Its a portrait session where the couple get dressed in their wedding atire and do their wedding portraits before the day. A post wedding session is not a trash the dress (unless they want to trash their dress!)
Prenup pictorials have become a necessary part of the wedding preparations. It gives the engaged couple another chance to bond, as well as give them a feel of what will happen on their big day on a smaller scale. If you're still in the planning stages of your prenup shoot, make sure to keep these tips in mind.
If you have booked your photographer for a day in Bangalore, you can expect to get 10-15 images from the photoshoot.
If your engagement session is included in your wedding package then it's usually up to one hour.
It is really useful to have a pre-wedding shoot. It really helps you get used to the camera. Any experience is good because otherwise you might feel a bit tense on your wedding day. The pre-wedding shoot is sometimes compared to your make-up trial run.