You may have questioned whether or not the floor should be the final resting place for your wedding gown.
It's more likely that you'll trip if you wear a dress that's too long in the front. As a result, the front of your dress should rest an inch or so above the ground, and the sides must touch the ground gradually as they progress to the train.
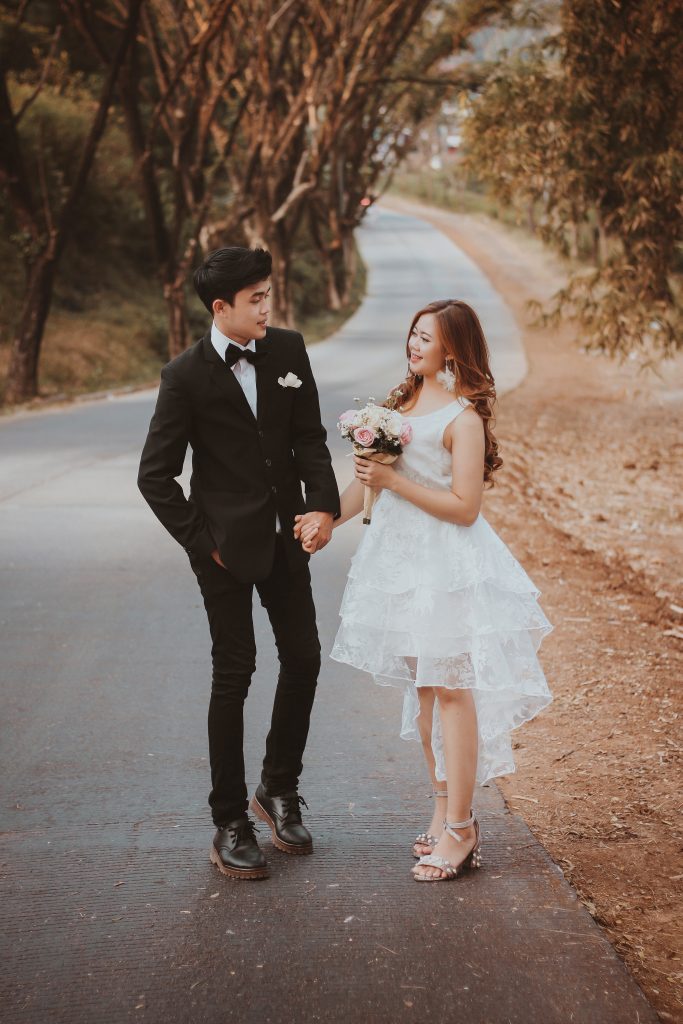
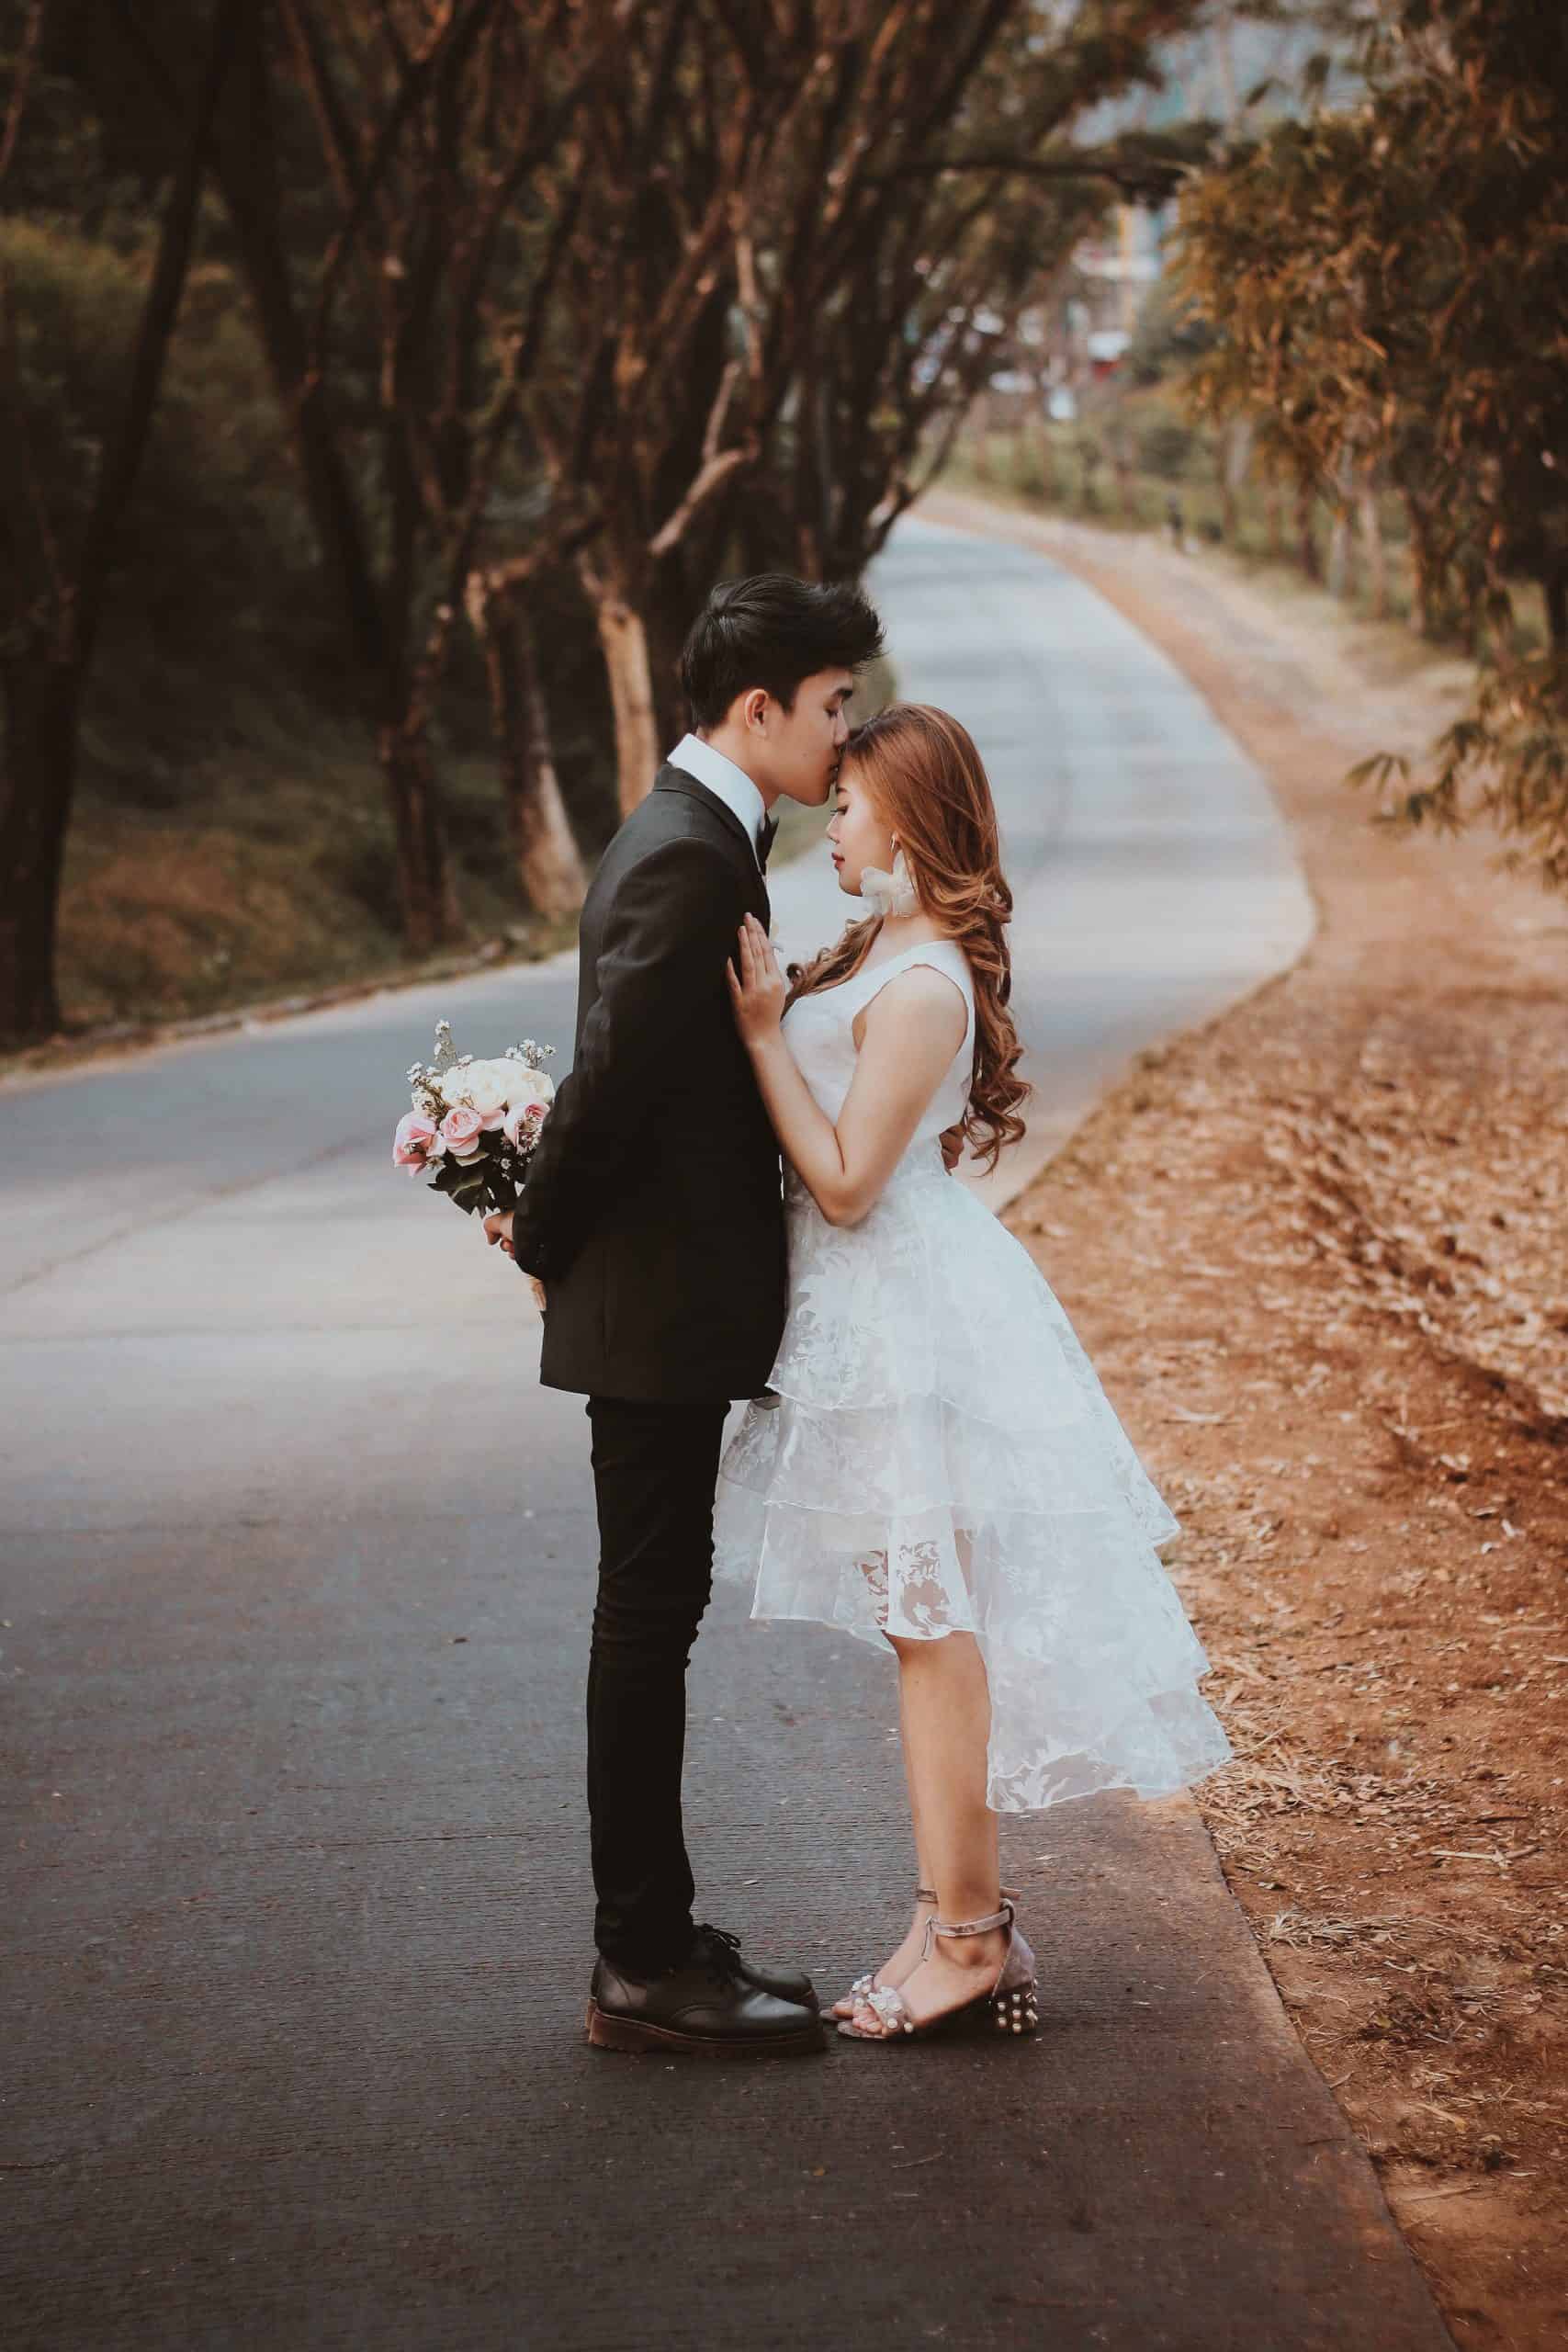
However, cute short wedding dresses are also available. Wedding dresses between the knee and the calf are suitable for a ceremony in a courthouse or on the beach. They are ideal for women who would rather not deal with the hassle of a long, clumsy dress.
Setting aside some of your clothing budget for alterations is a must. Ask the shop's owner, a salesperson, or a seamstress for an estimate of how much money you can expect to spend on alterations. A dress that you like might not be the perfect fit right off the rack. It is helpful to know how much a tailoring job might cost before taking it in. Remember that the price of having a dress shortened or altered will change depending on the fabric. Adding layers of chiffon can be quite pricey, and it can be difficult to conceal alterations or changes in smooth silk. Make sure that any potential adjustments have their own line in the budget.
Think about where you'll go to have your dress altered ahead of time. You know which bridal dress megastore I'm talking about, and while their dresses are reasonably priced, they often charge exorbitant amounts for alterations. You're free to take your dress anywhere that does alterations, like a different bridal shop.
If your dress has a significant train, it should have a bustle sewn into it. Virtually every wedding dress needs to be bustled, and there are a plethora of methods for doing so. If you are interested in a dress but are unsure what it will look on you, ask the sales associate if it can be bustled. Depending on the dress, you may need fewer than twenty-seven ties for a formal occasion (no lie). This is knowledge you should have. The alterations will cost money, and you'll have to hustle it out on your own before the big day. I always tell my brides to bustle one‘s gowns before making their entrance at the reception, after the ceremony has concluded.
Once a woman accepts an engagement proposal, the hunt for the ideal wedding gown begins, and the moment she lays eyes on the one she will wear forever is one she will never forget. The excitement of finally getting to wear your sparkling, one-of-a-kind wedding dress is unparalleled. But if you're like many brides, you probably have no idea how you'll keep your dress from lumping on the floor when you change into a wonderful pair of comfortable shoes for the reception after wearing stylish stilettos for the ceremony.
That is so cool that you found the perfect wedding gown at a price you could afford. It's up to you how long or short your dress is, but you shouldn't pick something that will reveal too much when you sit down or bend over. Ehem.
Don't let the length of the dress influence your decision, as there are many dresses that are still lovely and demure.
The amount of hemming that will be possible, if any at all, will depend on the style and design of your wedding dress. Your dressmaker will be able to help you determine the appropriate length for your wedding gown based on your body type and the style of the garment.
Looking for the ultimate Wedding Reception Venue in Melbourne? Look no further, Vines of the Yarra Valley is here.
Table of Contents
Outdoor Wedding Dress Protection
Buy an underskirt.
This won't break the bank, and it will keep your wedding dress free from the stains that will be sure to appear in the great outdoors before the big day. During more motionless photo sessions, or while travelling to the location of the shoot, an underskirt or slip worn under the wedding dress can help keep the skirt from touching the floor. In this way, you won't have to worry too much about wrinkles in your dress before the big event.
Apply a Sheet
If you don't have an underskirt but still want to wear your dress, you can make do by wrapping a sheet all around bottom. If your photo session will take place outside, your photographer may suggest using a sheet and other covering to protect the dress.
Bustle Up
In order to move freely and dance without restriction, it is recommended to have a seamstress instal a sturdy bustle. Your dress should be kept clean and dirt-free by the bustle because it will lift it high enough from the ground.
Put a team effort into it.
It means you should rely on your friends to help you out. Keeping the hem of your dress lifted, particularly when venturing outside. The bridesmaids should also be put to good use. If you need assistance with your dress or train, they can provide that.
Take off your shoes
Wearing a tulle or other soft fabric wedding gown? Hall advises you to remove your shoes before putting off the dress. sincerely acknowledged.
Protect the Hem with spray
You can prevent stains on your gown by spraying it with Scotchgard Fabric Protector, which is made by 3M. This extra service is offered by some maid services. Spraying the hem heavily enough to prevent soiling without escaping a visible line is the challenge. Don't risk breaking the product by using it incorrectly; instead, get advice from professionals.
Try to Be Cautioned
Just don't let your prudence prevent you from having a good time. We forewarn the brides that the mulch, asphalt, and concrete (stains, abrasions) can ruin their special day. In order to stay safe, you should avoid puddles and other hazards. Always remember that the dress is meant to be worn for fun and not to impress anyone. The dress will be difficult to keep in pristine condition, but that's okay. After all, the dry cleaner usually manages to get rid of any stain.
Once that is settled, we can move on to talk about shoes. And I concur that shoes are a must have. When getting her wedding gown altered, the bride is responsible for bringing her own shoes. Why? Obviously, determining the hemline correctly is crucial.
You can rest assured that your dress's hem will be altered to fit perfectly even if you choose to wear heels on your special day.
Feeling what I'm putting out there? Many of the brides I have worked with have changed from their heels to flats for the reception. The inconvenience and potential discomfort of spending the evening in a dress which is three inches or more too long is something many women are unprepared to deal with.
If you don't want to be there if that's going to bother you, you can leave. A good number of my brides have done this without realising or caring that it is unusual.
Dresses that are perfectly tailored for high heels often end up being too long when worn with more casual footwear. The duration is frequently too long. If the bride opts for a first look and then kicks off her heels for the portrait session after the ceremony, I won't be able to get many full-body shots.
After entering the reception, some of the brides have gone into a full-blown panic. People keep scuffing the hems of their dresses on the floor. When the bride took off her heels during the reception, someone stepped on back of her dress and sent her tumbling to the floor. Ouch.
Despite the fact that brides are doing this for decades. Exactly why should we care about this? So, in a nutshell, no. I'm writing this in the hopes that it serves as a word of caution to future brides who want to preserve their gowns or who simply want to feel comfortable dancing the night away in their wedding attire. You wouldn't think of something like that as a problem until you were knee-deep in it and couldn't get out.
Hollow to hem
A dressmaker will measure from the hollow to the bottom of the dress. The bride is measured from the hollow of her collar bone to the ground. The bride should be standing erect and at ease without her shoes so that an accurate measurement can be taken. You'll need assistance in order to take this measurement on your own. The dressmaker will then take this measurement and subtract an appropriate amount, usually between 3cms and 6cms, to prevent the dress from dragging on the floor and the bride from tripping over her own shoes.
Your bridal shoes
A wedding dress should be hemmed no more than 3 centimetres (1.2 inches) from the floor if you intend to wear sky-high heels. To avoid tripping over it while wearing flats, however, you should hem your dress more than 3 centimetres. Approximately 5 centimetres would be an appropriate range. Many contemporary brides opt for statement shoes, which are brightly coloured or heavily embellished, so if your wedding shoes are an integral part of your ensemble, you may want to hem your dress by 6 centimetres or more to highlight them.
Check out our top picks for Wedding Jewellery here to add that finishing touch to the perfect bridal look.
Buy two similar-heeled pairs of shoes.
Is it traditional to have a significant size difference between your wedding and reception footwear? This is not what we expected! To avoid ruining your dress, it's a good idea to buy two pairs of footwear, with the same heel height that you can switch into and out of during the ceremony and photos and the reception. What we're getting at is that flats are out and high platform wedges are in if you really want comfort without sacrificing style.
Consider adding a bustle
Your seamstress can instal a reliable bustle that will lift your wedding gown off the ground and safely secure it in the back. Putting on new footwear is no longer a hassle when you have a bustle added to your gorgeous dress. However, given the fragility of bustle loops, it is prudent to fasten a few safety pins to the inside of your dress in case of an unexpected mishap.
Buy a bridal petticoat
When switching from heels to flats, a bridal petticoat can be a relatively inexpensive solution to the problem of dress pooling. It will not only keep the bottom of your wedding dress from getting soiled with grass, wet asphalt, dirt, etc. during the after-party hours, but it will also gently lift the hem of your dress, creating a perfectly polished look.
Buy a knee-length reception dress
If you want to show off both your gorgeous heels and your fabulous flats, you wouldn't want to buy two pairs of footwear with the same heel height, do you? Consider borrowing or renting a pair of shoes with a lower heel if you're concerned about your skirt dragging when you take off your wedding heels. One common practise is to buy a second, shorter dress to change into after the wedding.
What to Consider When Choosing Your Dress Length
The type of party you'll be attending should be your first consideration when deciding on a dress length. As a rule of thumb, the more formal the wedding, the longer the dress. Thinking about your day's mobility goals is also important. While a shorter dress may look too casual for an extravagant black-tie wedding, a longer one will make you feel more like a princess as you walk down.
Check out our post on How can I protect my wedding dress?
Consider your wedding venue.
You should consider the venue of the ceremony and the reception when choosing the appropriate length of your wedding dress. When attending an outdoor party, especially if it will be on grass or sand, you should avoid letting your dress's hemline drag on the ground to avoid soiling it.
If you want to wear a long gown but are concerned about the venue or how its length might restrict your movement, there are some ways to achieve your desired look while still feeling comfortable. For the time being, though, let's take a look at the various wedding dress lengths and see which one best suits you.
In order to avoid having your dress get dirty from the ground or picking up dead leaves and grass at an outdoor wedding in a park or garden, you may want to consider having the hemline of your dress be just a little bit higher. In a similar vein, if there are many stairs at your wedding site—especially on the way to the ceremony—wearing a longer skirt will reduce the risk of your tripping and falling.
To this, you should also take your height into account. Wearing a dress with a skirt that comes as close to the floor as possible without touching it can help you appear taller than you actually are, perhaps by an inch or two.
Consider, too, how frequently you hope to engage in dance. If you want to get down on the dance floor without constantly adjusting your dress or removing one‟s bridal heels, consider a hem that is 6 centimetres or so higher.
You should think ahead of time to make sure the dress and train lengths you choose are practical for the wedding day. Think about whether you want to flaunt your floor-length hair all the time or save it for special occasions. If this is you, consider getting a dress with a removable train so you can make it even longer if necessary.
A bustle should be worn with any dress that has a long or flowing train so that the wearer can move around easily. A bustle is a way to gather and hide the long train of a wedding dress or other formal dress. It is done by using buttons, or ribbons. The most common types of bustles worn by brides are the French bustle, which is attached under the skirt, and the American bustle, which is attached to the side of the skirt at the hip to create an overlapping drape.
Before trying on dresses, it's also a good idea to settle on a shoe height. The length of the train on your dress will vary greatly depending on the height of the heel of your shoes. Full-length and floor-length dresses are indistinguishable from one another.
Conclusion
Your dress needs to have a bustle sewn into it if the train is very long. Talk to the shop's proprietor, a salesperson, or a seamstress to get a ballpark figure for the cost of alterations. The cost to have a dress shortened or altered varies with the material used. The length of your dress is up to you, but you shouldn't choose something that will reveal too much when you bend over or take a seat. Your wedding dress's style and design will determine how much, if any, hemming is feasible.
Shoes should be taken off before the wedding dress is put on. The tricky part is getting a thick enough spray on the hem to prevent soiling without leaving a visible line. If your bridesmaids need help with your dress or train, you should definitely have them help you out. If you want to show off your sky-high heels, you shouldn't have your dress hemmed more than 3 centimetres (1.2 inches) from the floor. The bride's dress will be tailored to fit her from the natural curve of her shoulder down to the floor.
These days, many brides choose to make a fashion statement by wearing brightly coloured or otherwise elaborately embellished shoes. If you're looking for a fashionable way to relax your feet while looking great, high platform wedges are the way to go. A bridal petticoat is an easy and inexpensive way to avoid duplicate outfits at a wedding. If you are worried about your skirt falling when you take off your wedding heels, you may want to borrow or rent a pair of shoes with a lower heel. When deciding how long your wedding dress should be, you should think about where the ceremony and reception will be held.
You can add an apparent inch or two to your height by donning a dress with a skirt that skims the floor rather than touches it. Dresses can be tried on more confidently if the right shoe height is determined beforehand. Your dress's train will be significantly shorter or longer than necessary, depending on the heels you choose to wear. A bustle is a device used to conceal the long train of a wedding dress or other formal dress.
Content Summary
- You may have questioned whether or not the floor should be the final resting place for your wedding gown.
- Setting aside some of your clothing budget for alterations is a must.
- Think about where you'll go to have your dress altered ahead of time.
- Keeping the hem of your dress lifted, particularly when venturing outside.
- When the bride took off her heels during the reception, someone stepped on back of her dress and sent her tumbling to the floor.
- Your bridal shoesA wedding dress should be hemmed no more than 3 centimetres (1.2 inches) from the floor if you intend to wear sky-high heels.
- Is it traditional to have a significant size difference between your wedding and reception footwear?
- To avoid ruining your dress, it's a good idea to buy two pairs of footwear, with the same heel height that you can switch into and out of during the ceremony and photos and the reception.
- Buy a bridal petticoatWhen switching from heels to flats, a bridal petticoat can be a relatively inexpensive solution to the problem of dress pooling.
- Buy a knee-length reception dressIf you want to show off both your gorgeous heels and your fabulous flats, you wouldn't want to buy two pairs of footwear with the same heel height, do you?
- You should consider the venue of the ceremony and the reception when choosing the appropriate length of your wedding dress.
- To this, you should also take your height into account.
- You should think ahead of time to make sure the dress and train lengths you choose are practical for the wedding day.
- Before trying on dresses, it's also a good idea to settle on a shoe height.
- The length of the train on your dress will vary greatly depending on the height of the heel of your shoes.
FAQs About Wedding Dress
The Bride's Family
Nowadays, perhaps a sweet grandmother offers to purchase your gown, or perhaps you're paying for it on your own. The bride's family also pays for big-ticket items such as a wedding planner, the bachelorette party, and ceremony reception costs (music, guest favours, rentals, etc.).
Remember that you know yourself best.
Although they are much less formal than your wedding dress will be, figure out what fit you generally wear and feel comfortable in. Another way to find the best cut is to think about your favourite feature and find a way to flaunt it.
A good rule of thumb for when to buy your wedding dress is to shop between 6 to 12 months before the wedding. A year before your wedding is an excellent time to begin looking for a dress; you should already have a date set, and venue booked, so you know when and where the wedding will take place.
Yes, wedding dress sizing is often different from standard sizing. You may know your dress size usually, but your wedding dress size will likely be different.
Buying a Wedding Dress Online is Cost-Effective
You can buy a legit, designer wedding gown and save anywhere from 40%-50% compared to what you'd pay in a brick-and-mortar store. When shopping online, you are not physically walking into a store with lots of overhead costs. Is it OK to buy a wedding dress online?